There’s something incredibly satisfying about having your very own outdoor bar – a space where you can sip on cocktails, enjoy a barbecue, or unwind with friends and family in the fresh air.
Building a DIY outdoor bar is not only cost-effective but allows you to create a personalised setup that perfectly suits your backyard style and entertaining needs. Whether you have a large garden, small patio, or cosy balcony, crafting your own outdoor bar is an achievable project that brings both functionality and charm to your outdoor space.
1. Why Build a DIY Outdoor Bar?
Creating a DIY outdoor bar offers several benefits:
- Personalisation: You can tailor the bar to fit your space, style, and entertaining needs.
- Cost-Effective: Building your own bar saves money compared to purchasing pre-made options.
- Satisfaction: The process of creating something with your own hands is rewarding and adds a unique story to your space.
- Social Benefits: An outdoor bar creates a dedicated entertaining area, perfect for hosting gatherings, celebrations, or relaxing after work.
2. Choosing the Perfect Location for Your DIY Outdoor Bar
Before you start building, decide on the best location for your outdoor bar. Consider the following:
- Proximity: Choose a space close to your kitchen or barbecue area for easy access to food and drinks.
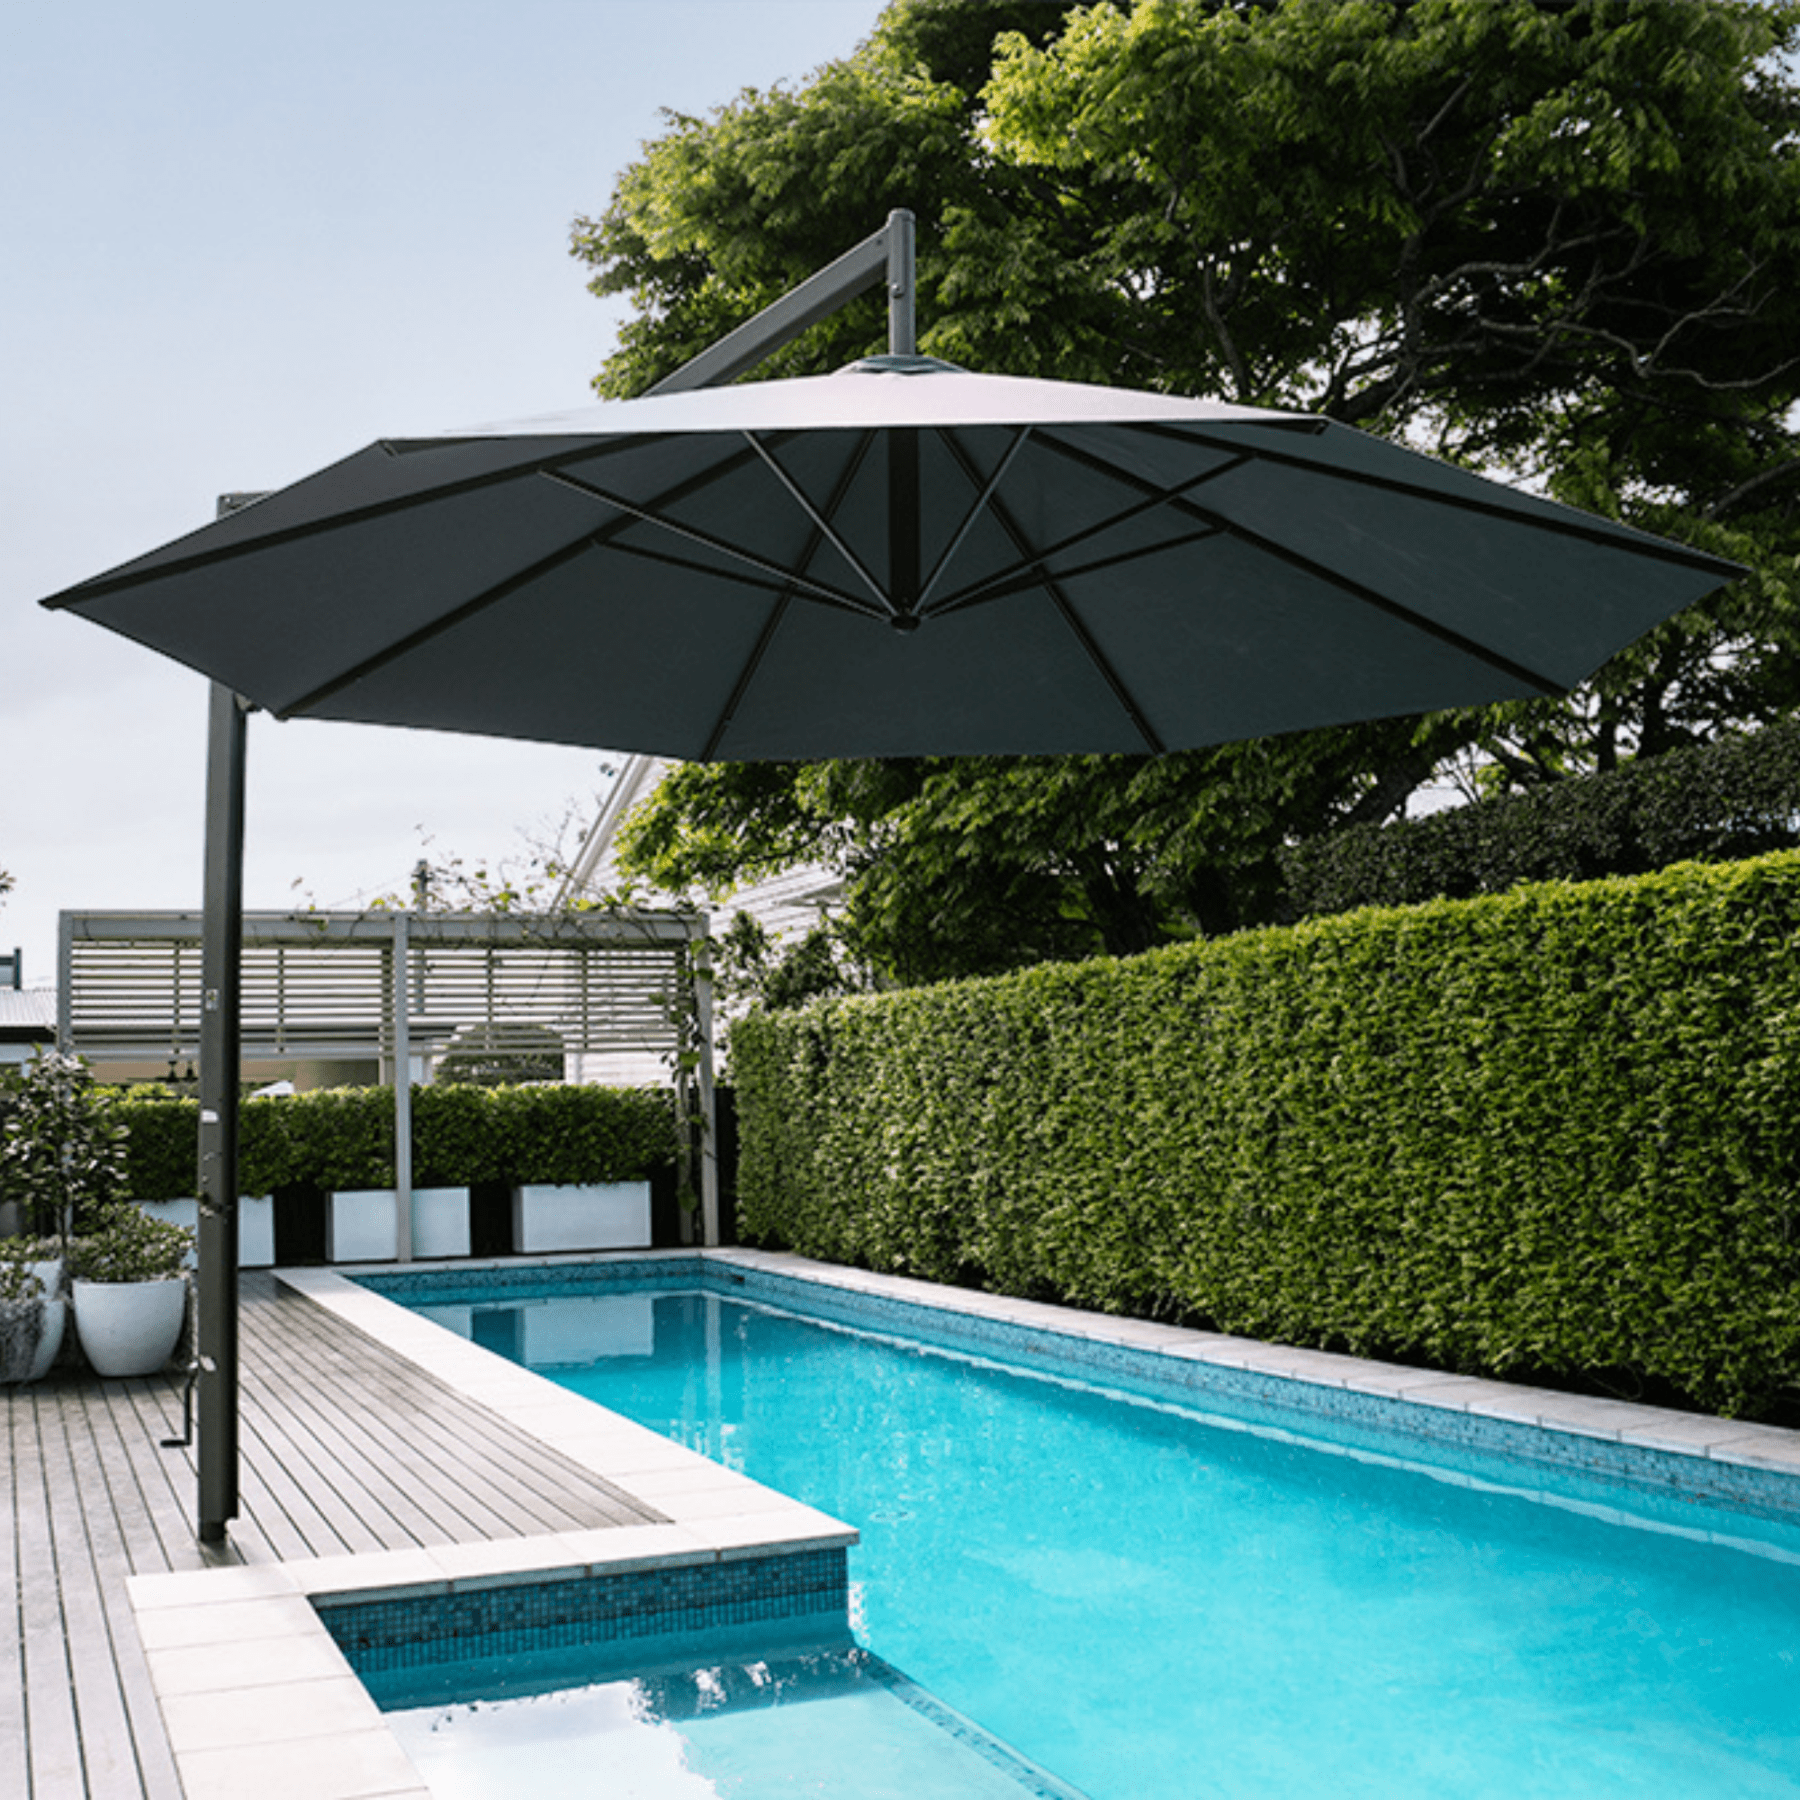
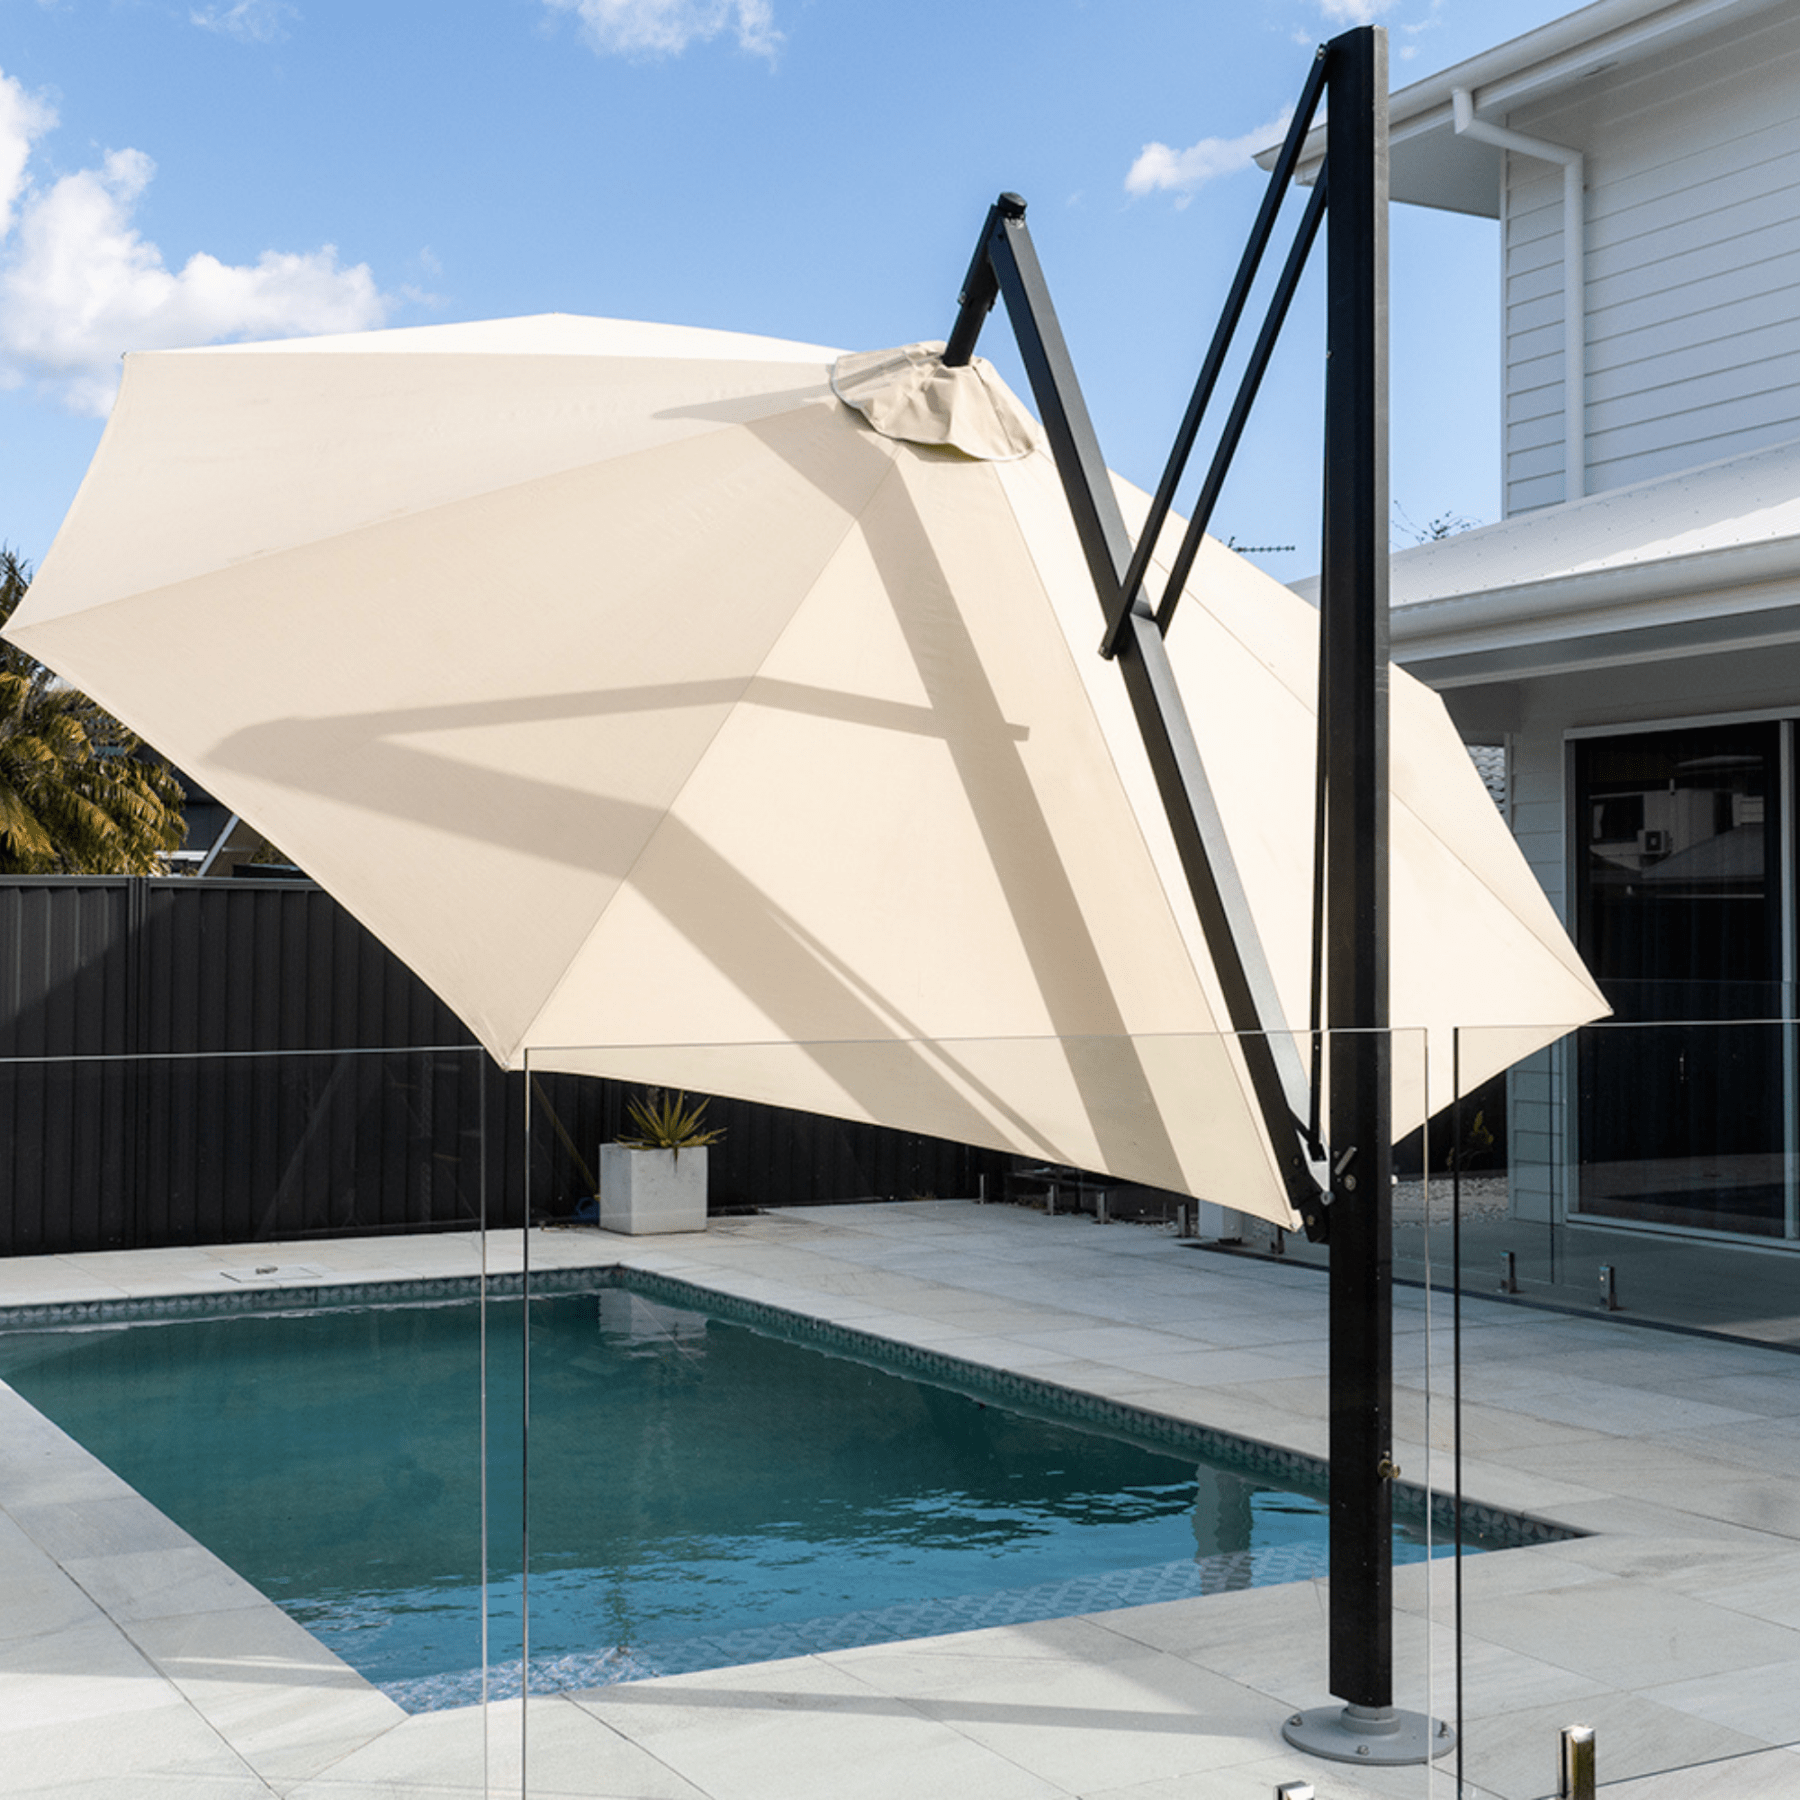
- Weather Protection: Position your bar under a pergola, awning, or large umbrella to protect it from sun and rain.
- Space: For small patios or balconies, opt for a compact bar design. Larger yards allow for L-shaped bars or built-in seating.
- View: Set up your bar to take advantage of any garden views or poolside areas for added ambiance.
3. Planning and Designing Your DIY Outdoor Bar
Start with a clear plan and design to make your project seamless. Sketch your ideal bar, keeping the following in mind:
- Dimensions: Measure the available space to ensure your bar fits perfectly.
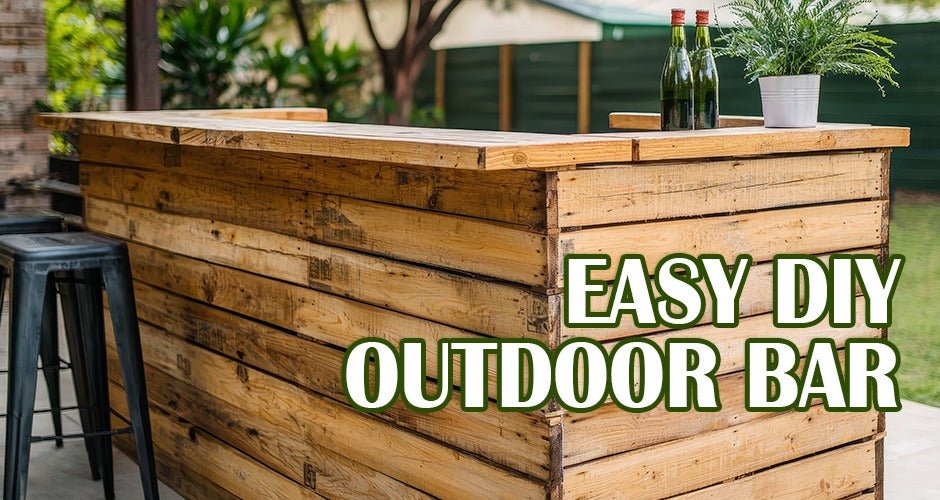
- Materials: Choose durable, weather-resistant materials like treated timber, concrete, or recycled pallets.
- Features: Decide what you want to include – shelves for glasses, hooks for tools, or a space for an esky or mini-fridge.
- Style: Whether you prefer a rustic, modern, or tropical look, design the bar to reflect your outdoor theme.
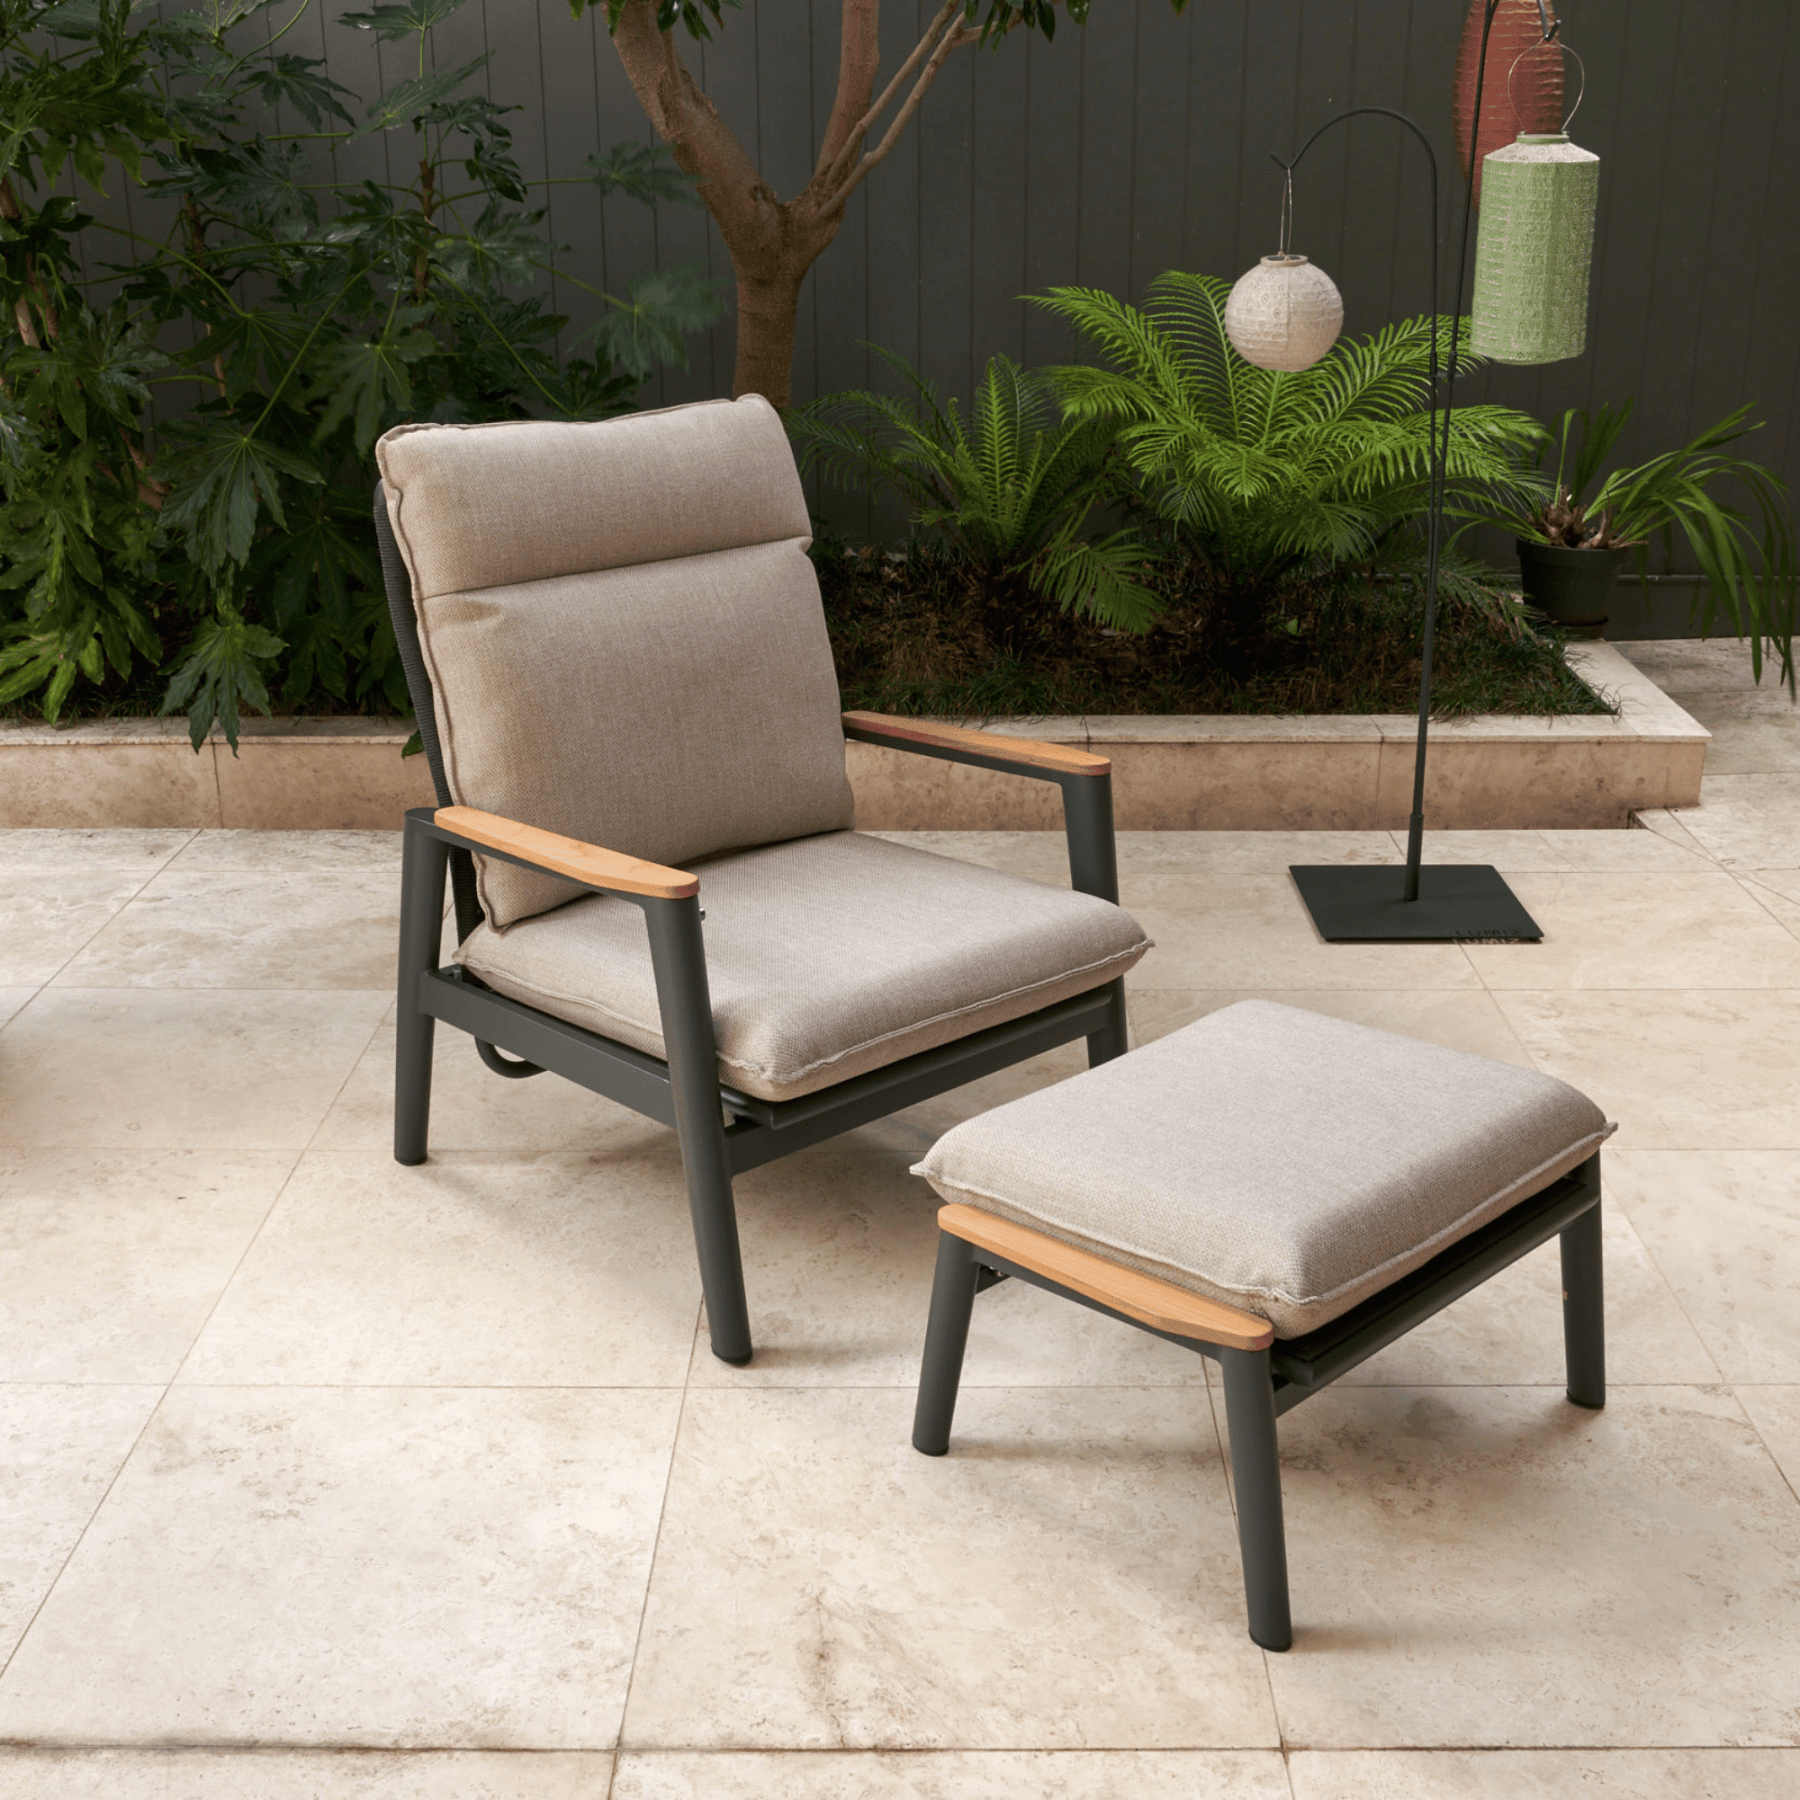
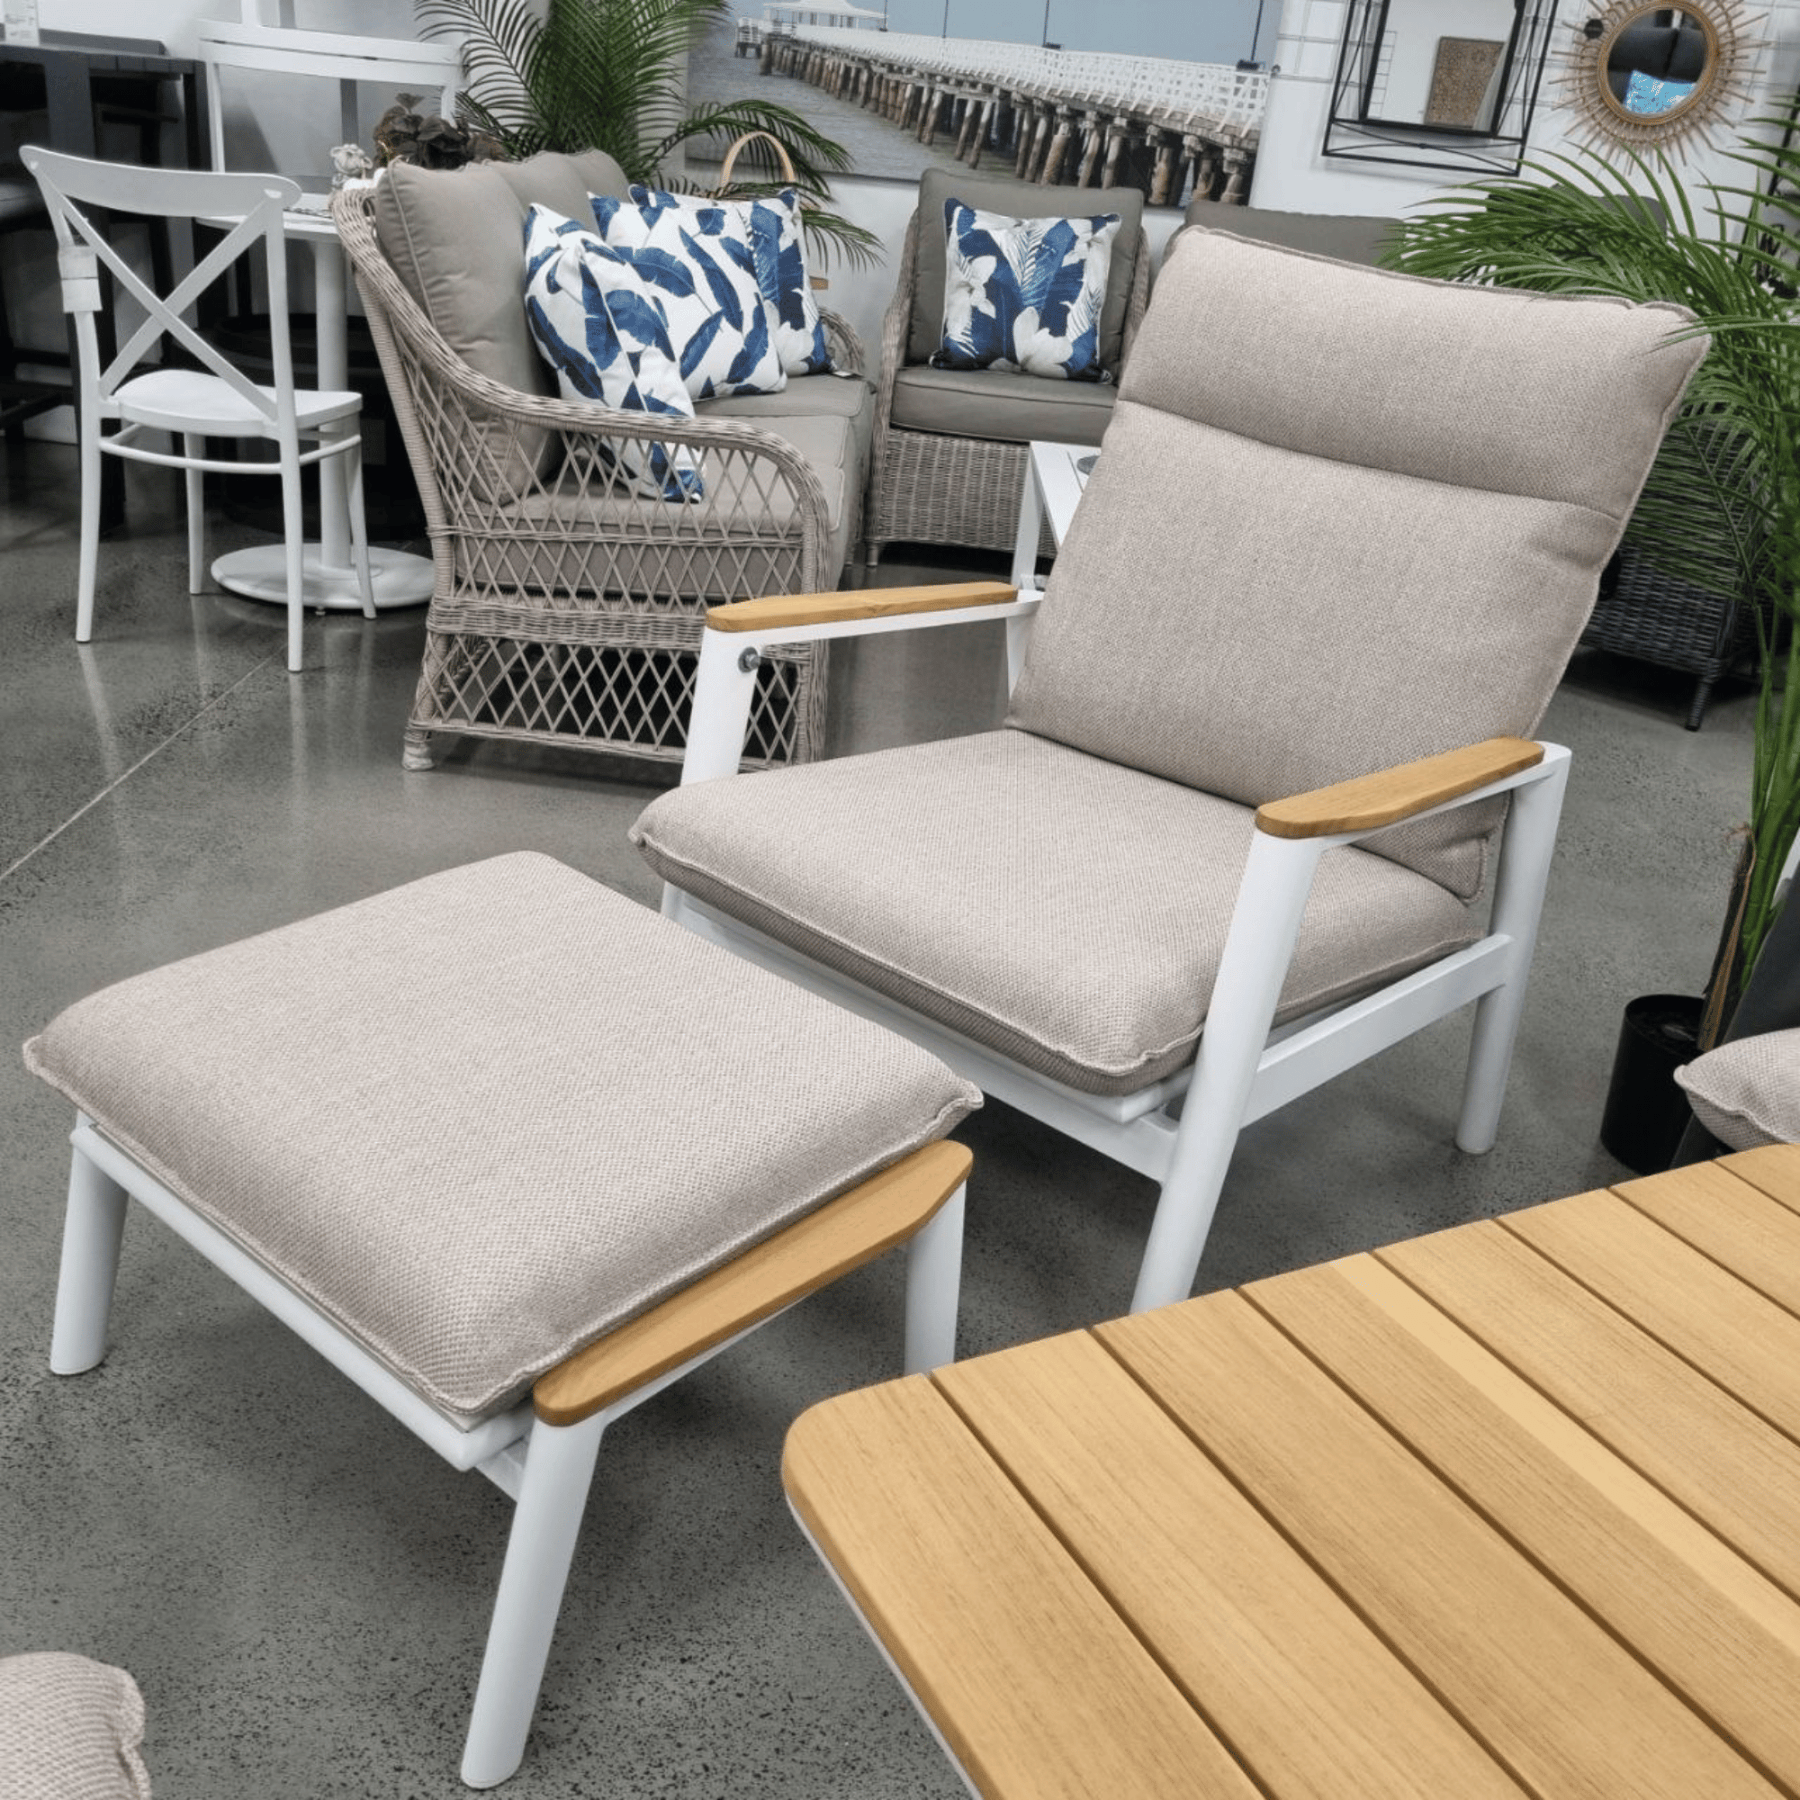
For inspiration on pairing your DIY bar with premium outdoor furniture, check out the stylish range at Lume Outdoor Living.
4. DIY Outdoor Bar: Step-by-Step Building Guide
Step 1: Gather Tools and Materials
To build a simple timber bar, you’ll need:
- Treated pine or pallets
- Screws and a drill
- Sandpaper
- Saw or pre-cut timber
- Wood stain, paint, or sealant
- A level and measuring tape
Step 2: Build the Bar Frame
- Create a rectangular frame for the bar base using timber planks. Ensure the frame is sturdy and level.
- Add vertical supports (posts) at each corner of the base for structure.
- Secure horizontal beams across the top to form the bar surface support.
Step 3: Add the Bar Surface
- Attach timber planks or plywood to the top of the frame to create a smooth bar surface. Sand down any rough edges for safety.
- For added style, consider tiling or sealing the surface for easy cleaning and durability.
Step 4: Create Shelves and Storage
- Install shelves beneath the bar surface for storing drinks, glasses, and bar accessories.
- Add hooks or racks for hanging tools, bottle openers, or towels.
Step 5: Sand and Finish
- Sand the entire structure to ensure it’s smooth and splinter-free.
- Apply weather-resistant paint, stain, or sealant to protect the bar from outdoor elements and enhance its appearance.
5. Styling and Decorating Your DIY Outdoor Bar
Once your bar is built, it’s time to add personality and charm with décor and accessories. Here are a few ideas:
- Bar Stools: Invest in comfortable, weather-resistant stools or benches that complement your bar. Lume Outdoor Living offers stylish seating options perfect for outdoor spaces.
- Lighting: Add string lights, lanterns, or LED strips to create a warm, inviting glow during evening gatherings.
- Bar Accessories: Stock up on essentials like an ice bucket, drink shaker, and reusable glassware.
- Plants: Decorate with potted plants or hanging greenery to bring a natural touch to your bar area.
- Signage: Personalise your bar with a chalkboard sign or rustic wooden plaque to display drink menus or fun messages.
6. Upcycling Ideas for a Budget-Friendly DIY Outdoor Bar
If you’re looking to save even more, consider upcycling materials to build your bar:
- Pallet Bars: Wooden pallets can be repurposed into a simple, rustic bar with minimal cost.
- Wine Barrel Bars: Use wine barrels as the base and add a timber top for a unique, vintage look.
- Crates and Cinder Blocks: Stack wooden crates or cinder blocks to form shelves, and place a sturdy timber top to complete the structure.
- Recycled Timber: Use reclaimed wood for an eco-friendly and weathered aesthetic.
These budget-friendly options ensure that building your DIY outdoor bar remains cost-effective without sacrificing style.
7. Maintenance Tips for Your DIY Outdoor Bar
To keep your DIY bar looking fresh and functional, follow these maintenance tips:
- Regular Cleaning: Wipe down the bar surface and shelves regularly to prevent dust and spills from building up.
- Seal and Protect: Apply a weatherproof sealant annually to keep timber and other materials protected from moisture and UV damage.
- Cover It Up: Use a waterproof bar cover when the bar isn’t in use, especially during wet seasons.
- Check for Damage: Inspect screws, joints, and shelves periodically to ensure everything remains sturdy and safe.

